

Arriving at your signature photography style can be a frustrating and lengthy process for many photographers. Not only do you have to learn everything about lighting, locations, camera gear, etc., but you also have to learn how to finalize your work through editing. I see editing as the icing on the cake; the pretty top layer that adds the “wow” factor. There’s only so much you can fix through editing if you don’t have a solid base product to begin with. But once you’ve perfected your basic recipe, you can have all kinds of fun! (If you need help with your basic recipe, consider a mentorship, where you and I can work together to get you where you want to be, or check out my Create in Color Lightroom Presets and editing education to grab my exact editing process!)
While fine-tuning my own style over the past few years, I’ve found that there are a few editing tricks that I use consistently on almost all of my photos, and I want to share them with you so that you can work on perfecting your own style, or learn a few new time-saving tricks! Let me know what you think!
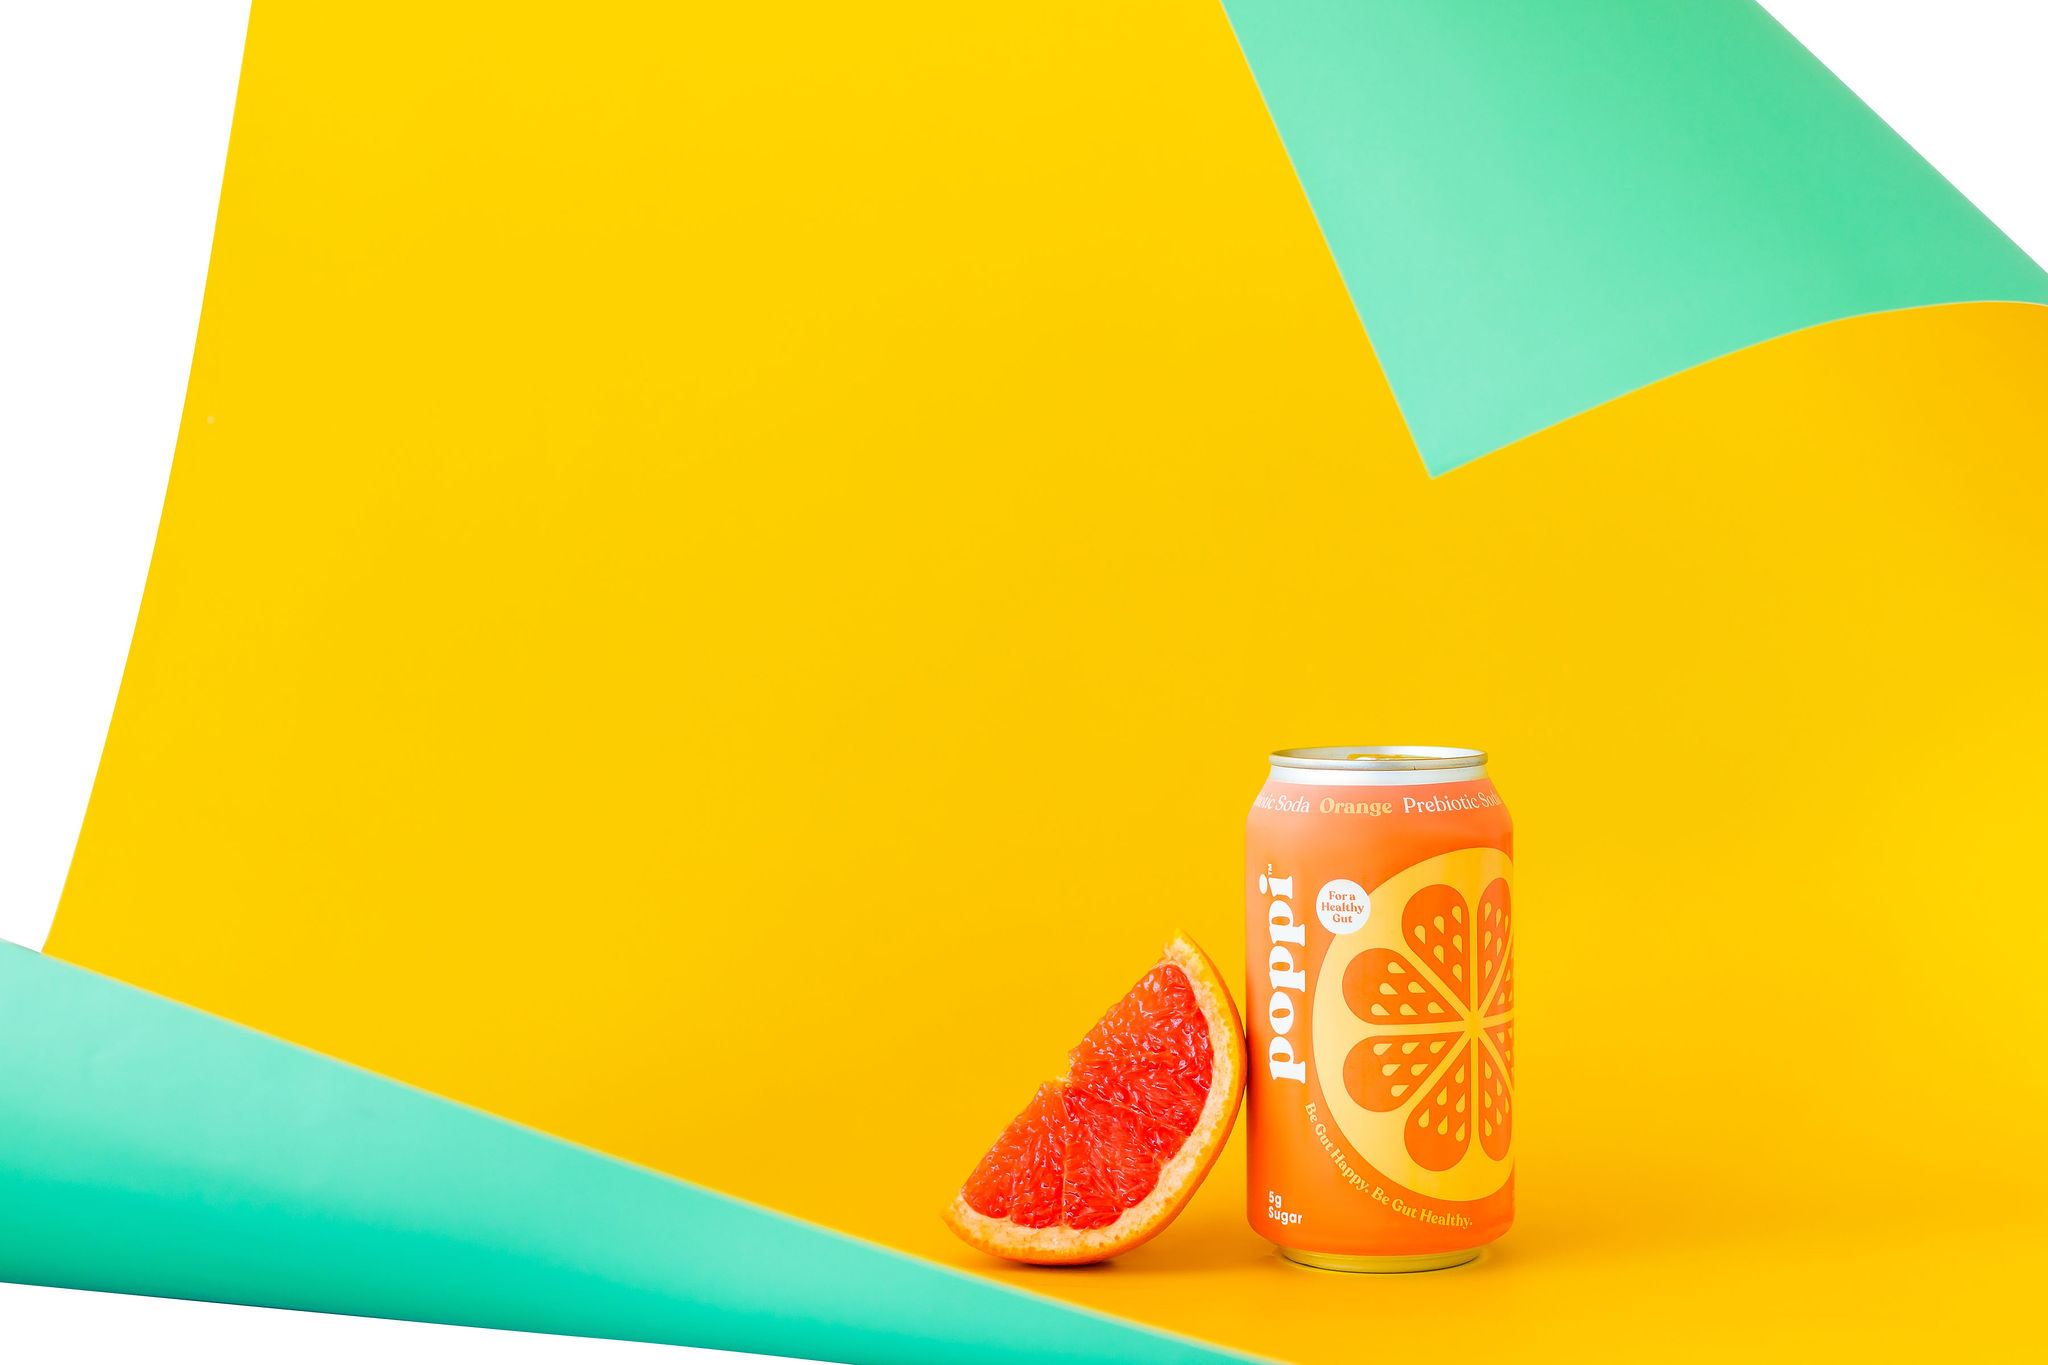
Special thanks to Blaire from Freshly Fuji for being my model!
—
Lightroom – Color HSL Slider
—
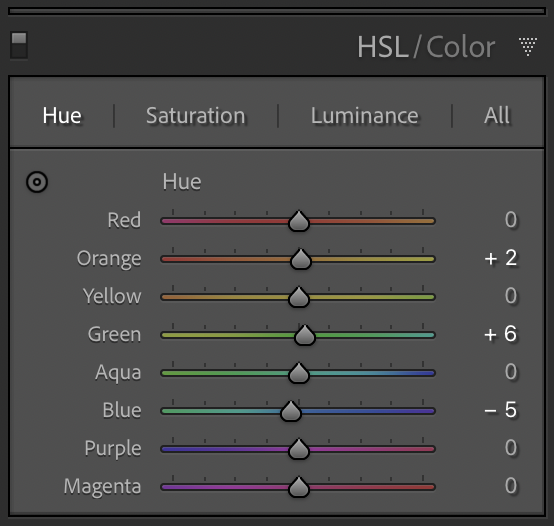
Easily change hue, saturation, and luminance by clicking the circle on the upper left of the HSL/Color module and then clicking and dragging up or down right on the photo on the area you’d like to change. This has saved me SO MUCH TIME!
For instance, if you think a skin tone is too saturated but you try to pull down the orange saturation and it doesn’t quite do it, then this tool is the way to go! It’ll catch any colors within that skin tone (like yellows, reds, etc.) and will adjust them all as you drag the mouse up and down. This is a must have for perfecting those neon greens that tend to show up in grass on a sunny day!
—
Lightroom – Transform
—
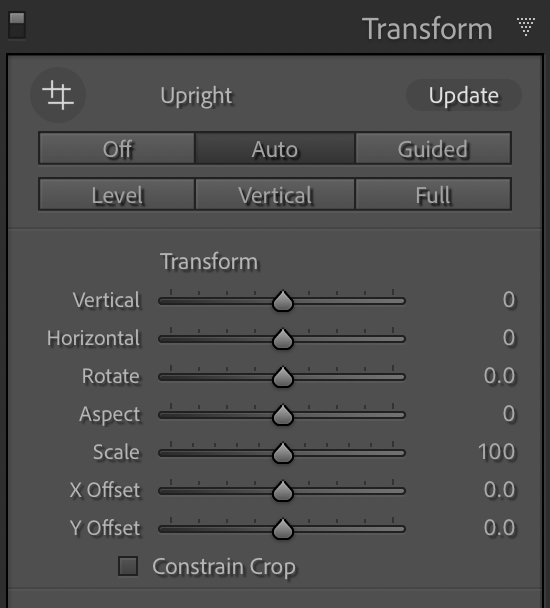
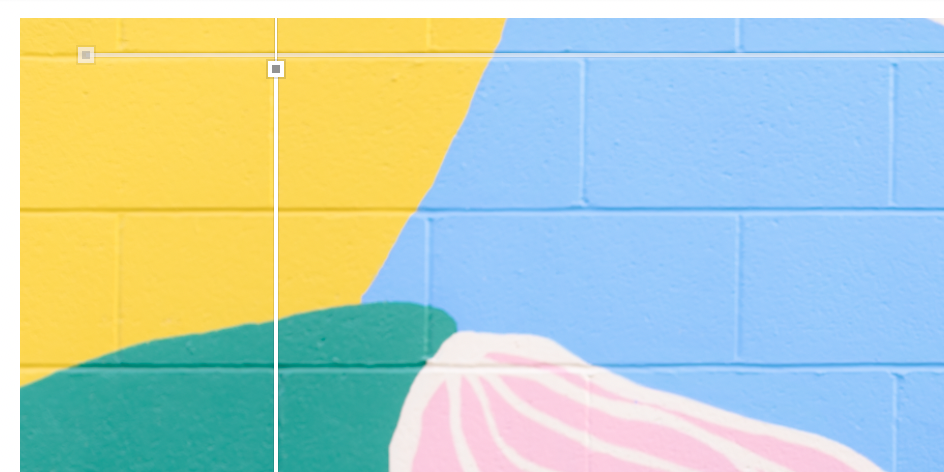
This one has been essential for me because I’m obsessed with straight lines in my photos! While there are ways to ensure straighter lines when shooting in camera, this has been the best way that I’ve found to correct those annoying slightly slanted lines in post processing. Auto transform can often work wonders in one simple click! Or try adding your own lines manually to get a perfect result every time; just click the icon in the top left corner with the 4 lines, and then click on your photo and drag the vector across a line that’s supposed to be straight.
Quick Tip: You’ll likely have to add 2-4 (max 4) lines to get the perfect result! (See below)
—
Photoshop + Lightroom – Content Aware Fill
Okay, another pet peeve of mine is having distracting elements in my photos. My aesthetic is very clean and for that reason I often try to eliminate any little things that distract from my subject in a photo. If I’m not able to eliminate those distractions in camera (by moving things, changing my angle, or blocking the distraction with the subject), then this is a great way to eliminate them in post-processing.
Lightroom recently came out with a content aware healing tool, but I find that it’s not quite as good as Photoshop yet. So I’ll often try the tool first in Lightroom, and if it doesn’t quite do the job, then I’ll take the photo into Photoshop for a quick tweak.

—
For Lightroom: in the develop module, click on the icon on the right that looks like a bandaid. Then you should get a menu like the one in the photo above. The far left icon that almost looks like an eraser is the content aware fill. The other options are healing or clone, which I sometimes use if content aware doesn’t work well. Adjust the size and click or click and drag over anything on the photo that you want to get rid of.
—
—
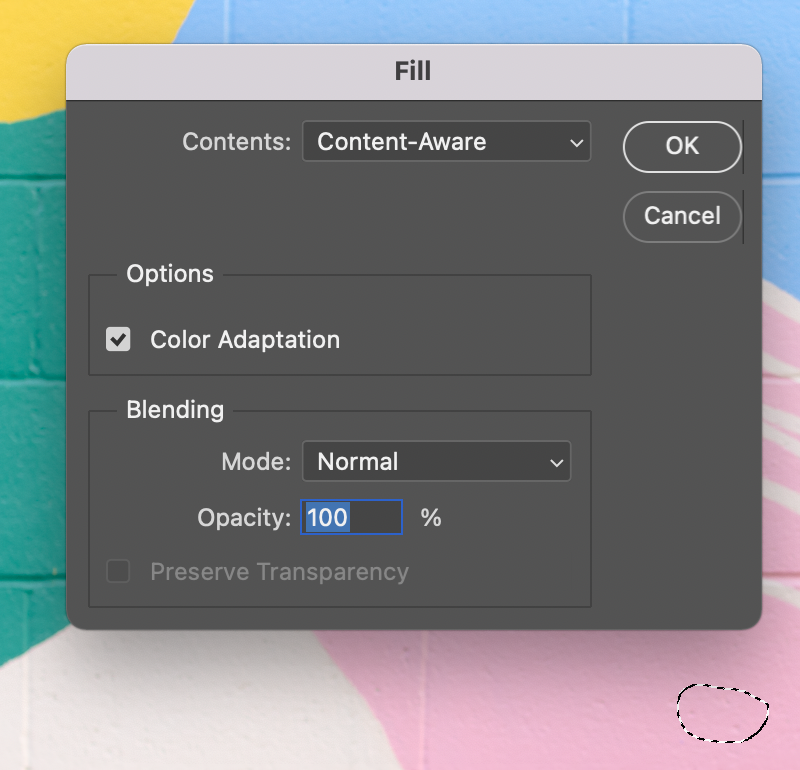
For Photoshop: There are many ways to get to content aware fill in Photoshop, but here’s my preferred method. Using the lasso tool I first circle the object I want to get rid of. Then, since I use a Mac I use the shortcut, which is to hold down Control + Shift + Delete. You’ll see the above box show up, then I make sure “content aware” is selected in the drop down menu, then hit Enter. If it didn’t do a good job, you can go and and instead try circling the object then right click and select “content aware fill” from the drop down menu. This will bring you to a module where you can adjust the area where Photoshop samples from to fill.
Quick tip: As long as you have both Lightroom and Photoshop, if you right click on the photo you want to edit in Lightroom it’ll give you a drop down menu with one of the options being “Edit in.” Hover over that and you should see another menu that says “Edit in Adobe Photoshop.” Click that option, then when you’re finished making changes in Photoshop just hit save and a copy of the photo with your Photoshop edits will appear in your Lightroom catalog! Voila!
Lightroom – Masking Tools
A more recent addition to Lightroom and an absolute game changer! Lightroom’s recent update to include all kinds of automatic masking is probably my overall favorite update and the one tool that’s really changed my editing over the past few months. In the past, if I wanted to bring down the highlights in the sky during sunset or brighten a dark backdrop I’d have to do a lot of hand editing with brushes that was tedious and could take a lot of time, but now you can easily select the subject, sky, background and even individual people (and specific features on individual people) with the click of a button! And the craziest thing is that I’ve found it to be quite accurate!
—
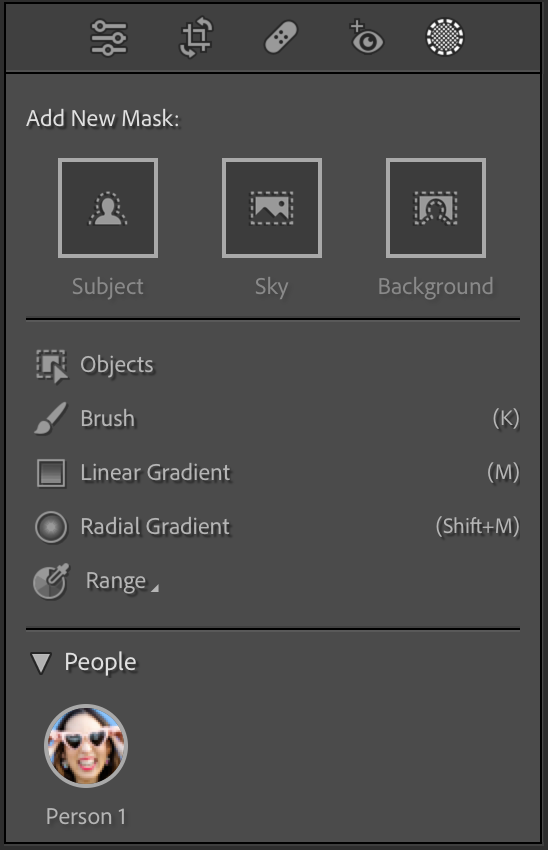
Just go to the develop module in Lightroom and open the editing panel on the right. At the top you’ll see a bunch of icons. Click the circle icon on the far right and it should open a panel like the screenshot above. Then select which type of mask you want to create, and make your adjustments to the mask. Easy peasy!
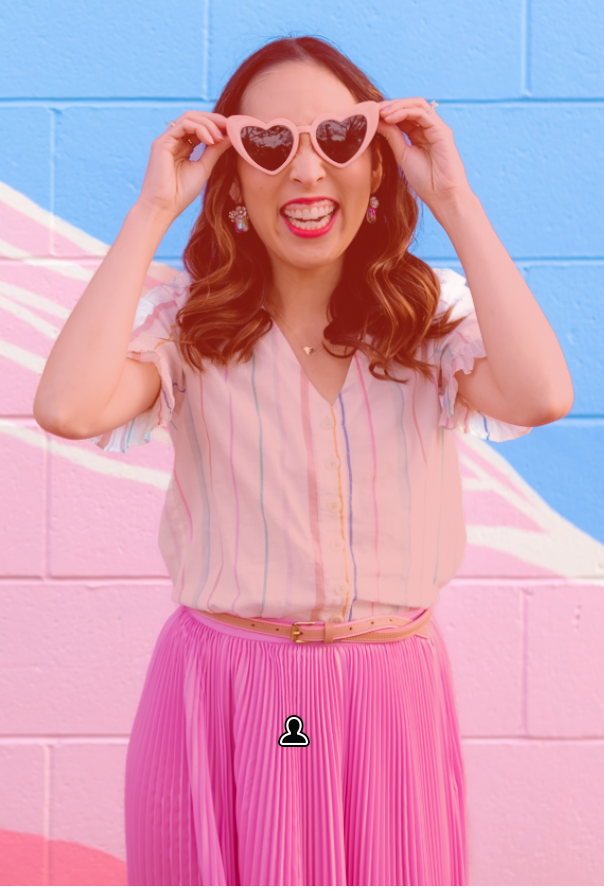
If you click on a person at the bottom, you can choose which part of them you’d like to mask, such as the entire person, or their hair, lips, teeth, face skin, or body skin. In the example below I’ve first selected to mask the subject, and you can see it’s selected the model (the red overlay shows what’s selected). In the second example you can see I’ve selected the “person 1” at the bottom, and then chosen the hair. Pretty accurate, right?!
—

—
I find myself using the subject or background masks the most to brighten the look of photos or alter pesky color casts. Then you can simply sync your edits across similar photos and literally cut your editing workflow down to a fraction of what it was before! Plus you get more control over the final look of your photos, so bring on the creativity!
(These actions can also be done in Photoshop, but I find that Lightroom is just a faster and easier tool to use when editing large galleries, so I try to stay within that program whenever possible, especially now that it’s catching up with some of the capabilities of Photoshop!)
—
Quick tip: If you’re interested in learning more about how to use Lightroom and/or Photoshop, I highly recommend this website: Phlearn. They have hundreds of tutorials for everything you might want to learn, and their videos are actually fun and easy to watch! And if you want to know my exact editing workflow, head over to my page for photographer where you can learn more about and purchase my Create in Color Lightroom Presets and 8 educational videos where I show you exactly how I use the presets in all kinds of lighting scenarios to create colorful and eye-catching images!
—
If you enjoyed this post and want to be sure to catch all my other photography tips, then make sure to sign up for my VIP list! You can become a VIP here!


Comments +