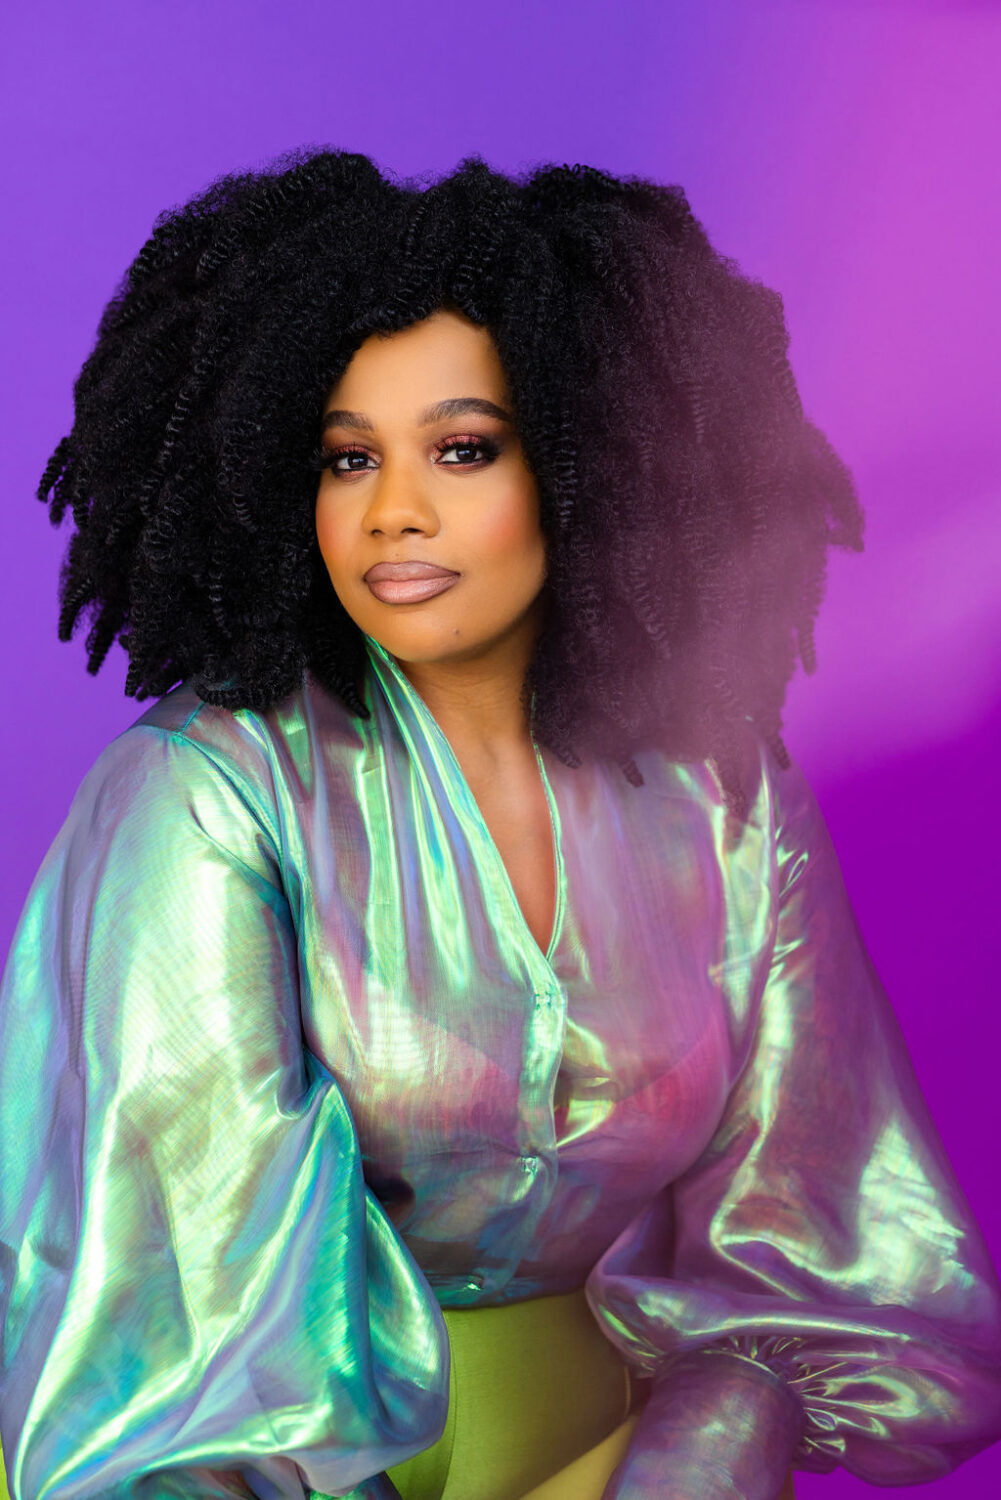
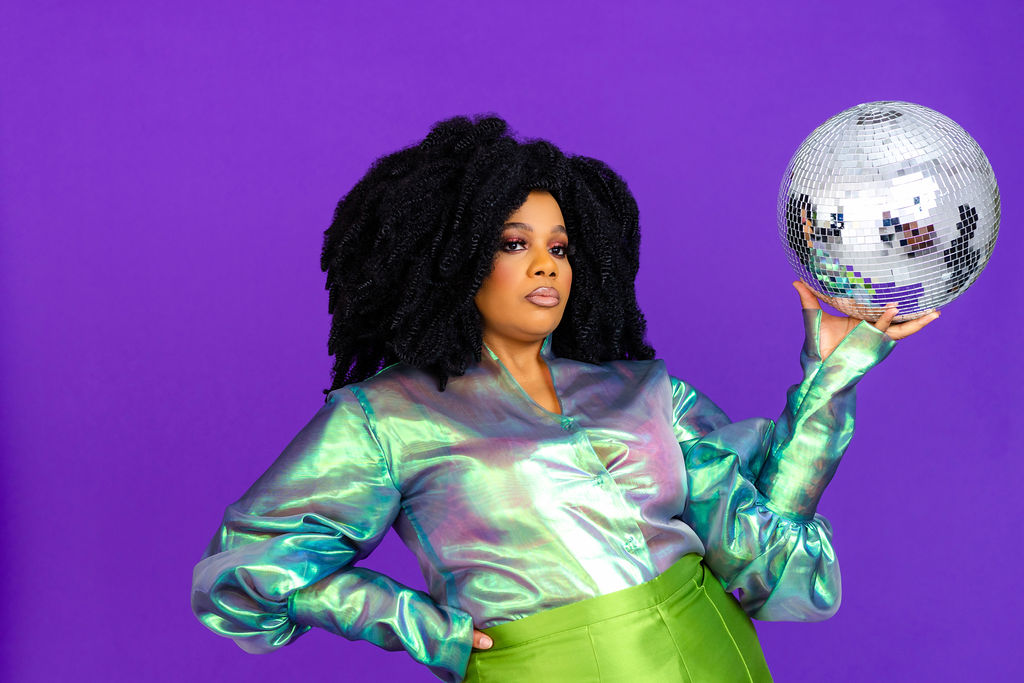
Chances are that if you made it to this page, you consider yourself a “natural light” photographer or you like bright images just like I do! There’s absolutely nothing wrong with higher contrast, shadowy, or darker photos…it’s just not my jam! My clients come to me for a fun experience and the bright, happy, and colorful photos that I’m known for. So over the years I’ve perfected my own techniques with flash and artificial light so I can deliver those bright and evenly lit photos in all kinds of different lighting scenarios! The photos below were taken using a mix of flash and artificial light (the same technique that I teach here). Curious how I do it?
Keep reading for 4 key things that I’ve learned about how to make flash and artificial light look natural.
—





—
It’s important to understand the qualities of light and what you like or don’t like.
That way you’ll know immediately what you want to change when you see the back of your camera and you’ll be able to immediately assess a new location and know where to put your subject and your gear. I know this sounds simple, and maybe you’re thinking, “duh!” But let me explain…
After talking to a bunch of photographers that have struggled with flash and artificial light, one thing that comes up time after time is that they know when they don’t like the lighting in a photo, but they have no idea what needs to change to get it where they want it to be! I think this comes from not spending time analyzing different light and how it affects photos and angles. Once you know and understand the type of light that you like, you can easily understand what you need to change to get the image that you want.
So if this is your struggle, set aside some time every day to notice the different patterns of light in your house, office, workplace, or wherever you spend a lot of time. Try taking photos at different times of the day and notice how the light changes in person, as well as in the images, and start to learn to recognize what type of light you love and prefer to work with vs what type of light you dislike and why.
—
Off camera is key
Using a flash attached to the top of your camera is easy, fast, and convenient, but if you really want to create soft and natural looking light it’s time to start learning how to pop that flash off of your camera and on to a lightstand so you can light your subject from any angle. Boom! There you have it: off camera flash! 😜 Okay, there’s a little more to it than that, but don’t worry it’s not all that complicated. Check out my free flash education video where I’ll show you how I use a simple one light off camera flash setup to create my signature bright photography style!
—
You need a flash that’s able to work at really low power
That way you can still use natural light if it’s available and just add a pop of flash to fill in the shadows on the darker side. Not sure where to start? I understand the overwhelm! Check out my Photography Gear Guide where I list all the gear that I use, along with details and easy one click links!
—
Choose simple scenes and bright backdrops
The more complicated the scene, the more challenging it becomes to light it with flash and the more likely you are to get some kind of shadows. So instead, opt for simpler backdrops and minimize your props so you can simplify the gear required. Brighter white backdrops also act as a sort of reflector in the scene and bounce more light around to get that natural look! Positioning your subject further in front of the backdrop (creating space between them and the scene or wall) will also minimize any shadows and allow for light to evenly hit the backdrop.
—
In general, the larger and more indirect you can make the light, the softer it will be
If you can create a large space for the light to bounce off of, it will be softer when it hits your subject. So things like large umbrellas or large white walls and ceilings will create softer light in your final image. If you’re trying to work with a simple on camera flash and a tiny modifier on top of it, well you just won’t be able to get the same result.
—
Did you find this helpful? Are you curious and hungry for more? Ready to figure out how to make flash and artificial light work for you? Check out this blog post where I share 4 Misconceptions About Flash and Artificial Light, and watch my free flash education video where I’ll walk you through how I use a simple one light off camera flash setup to create bright images! Want to go all in and learn my personal method for achieving bright and natural looking images in any lighting situation? Sign up for my flash course and learn more here! Trust me, it’s fun, non-technical, and easy to understand! Pinky promise! 😉

Comments +